Getting Stickers Made Shouldn't be This Easy
And yet, here we are. Join the hundreds of happy artists.
Free Tracked 48 Shipping
on all orders
Premium UK Quality
printed & shipped from the UK
Free Online Proof
with all orders
Customise and create with confidence
Our online printing service lets you design your own stickers and labels, all fully customisable in shape, size, and finish.
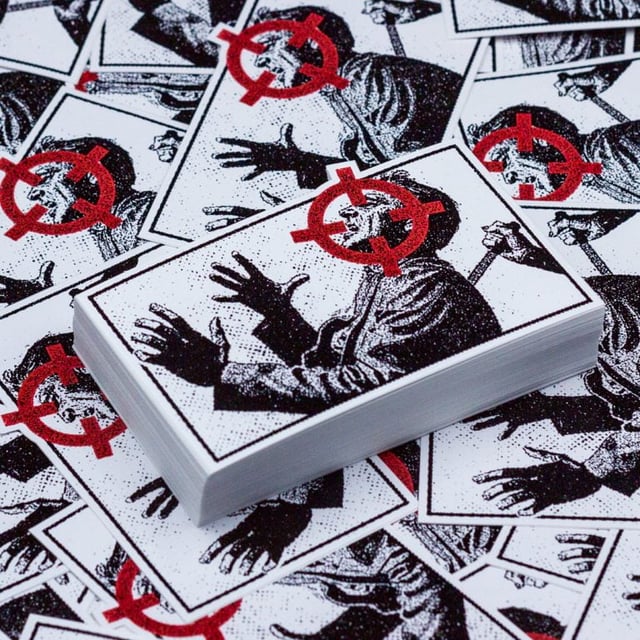
Die Cut Stickers
Out most popular choices. Loved by everyone for their quality and price.

Sticker Sheets
Hand someone a sheet and watch them leave little traces of you on café tables, bathroom mirrors, and unsuspecting laptops.

Sticker Packs
Remember trading cards? Same dopamine, your art.

Banners
The internet is noisy. A banner at a market stall is just you, your work, and someone stopping mid-walk. Soon.

Holographic Stickers
Flat is forgettable. Holographic stickers bend light, steal attention, and make artwork feel alive.
Customise the white and colour layers to create effects that are uniquely yours.

Glitter Stickers
Glitter grabs. These stickers turn artwork into instant eye-catchers.
Dial the shimmer up or down, choose where it dazzles and where it rests.
Why Choose Decal Empire?
Fast Turnaround
Quick production and shipping to meet your deadlines.
Competitive Pricing
Great value with bulk discounts available.
Vibrant Colours
High-definition printing with bold, eye-catching colours.
Easy Ordering
Simple process with online proofing and hassle-free checkout.
Low Minimum Orders
Get the quantity you need. Big or small.
Customer Satisfaction
A growing list of happy customers from start to finish.
How It Works
From design to delivery in 4 simple steps
Configure
Choose size, material & quantity
Upload
Add your artwork or logo
Approve
Review your digital proof
Receive
Get your stickers delivered
What Our Customers Say
Join thousands of happy customers across the UK
“Absolutely fantastic quality! The stickers are vibrant and durable. Been using them on my products for months.”
Sarah M.
Small Business Owner
“Super fast turnaround and the proofing process was so easy. Will definitely order again!”
James T.
Brand Designer
“Best sticker quality I've found in the UK. The die-cut precision is incredible.”
Emma R.
Etsy Seller
FAQ
What file formats do you accept?
We accept PNG, JPG, PDF, SVG, and AI files. For best results, upload high-resolution files (300 DPI or higher) with transparent backgrounds when possible. PNG files work great for most designs!
Are vinyl stickers waterproof?
Yes! Our vinyl stickers are waterproof, weather-resistant, and UV protected. They're perfect for outdoor use on cars, water bottles, coolers, and more. They can even go through the dishwasher (top rack recommended).
How long do vinyl stickers last?
Our premium vinyl stickers are designed to last 3-5 years outdoors and even longer indoors. They're scratch-resistant and won't fade or peel easily when applied correctly to clean, smooth surfaces.
Can I get a proof before printing?
Absolutely! We provide a free online proof before printing so you can see exactly how your stickers will look. You'll receive the proof within 24 hours and can request revisions if needed.
Already a Customer?
Quick login to track your orders, reorder favourites, and access exclusive customer perks.
Get in Touch
Have a question about our stickers? Drop us a message and we'll get back to you as quickly as possible.